First Aid Tips for common accidents – Part 1
First Aid Tips for common accidents – Part 1
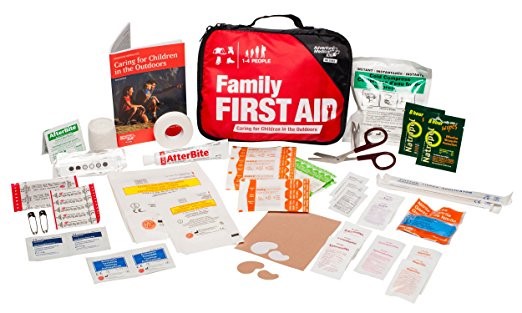
An emergency or an accident can occur to a student or a teacher anytime in school. Therefore, it is important to set up a functional infirmary in school, which is equipped to handle emergencies of any sort. First aid is not just about having a box of medicines, but the administration of the right aid to save a life. Some of the first aid techniques can be taught to students in the class, so that they are also equipped to handle emergency situations, in the absence of an adult.
Here are are some of the common illnesses or accidents and the first-aid techniques to tackle them-
-
Choking in infants and Heimlich Manoeuvre
Choking is most commonly caused in infants. Be it at playschool or at home, they tend to explore and put things like food items, erasers, toys, etc. in their mouth. This proves to be dangerous as it might get stuck in the throat, obstructing the flow of oxygen. Thus, it is necessary to learn the Heimlich Manoeuvre.
Heimlich Manoeuvre is a first aid procedure that is used to treat the obstructions made by foreign objects in the lungs.
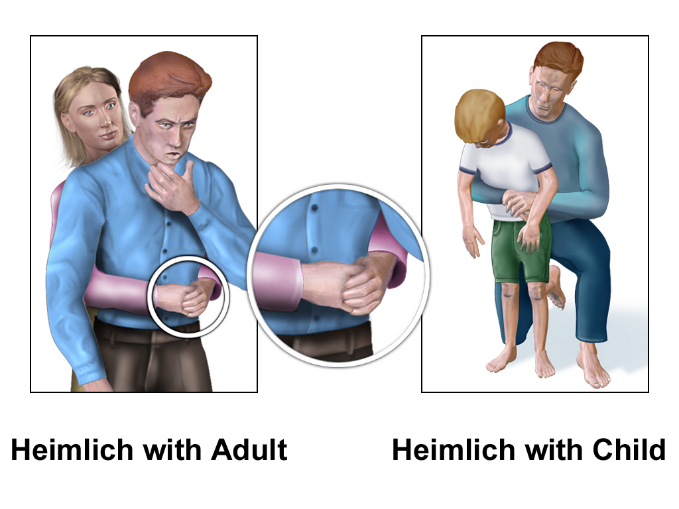 Performing Heimlich Manoeuvre for children older than 1 year –
-
You can stand or kneel behind your kid and wrap your arms around him/her.
-
Make a fist on one hand and place it above the child’s belly button.
-
Grasp the fist with the other hand and start giving quick upward thrusts until the object is dislodged, or until the child starts breathing normally.
-
If the child passes out, then perform CPR (Cardiopulmonary Resuscitation) immediately. Check for an object in his/her mouth every time you deliver short breaths. If you see something, take it out. Try not to put your fingers into your child's throat to feel for the object as it could lodge the item more firmly in the airway.
-
Gasping respiration and Cardiopulmonary Resuscitation (CPR)-
-
If you are alone with the child who is not responding or breathing, then try to seek emergency help after performing 2 minutes of CPR.
-
You can try to check and see if the child is conscious by tapping him/her gently and asking if he/she is okay. You can also check to see if the child has any injuries such as bleeding from the throat or nose.
-
Try to check the breathing of the child by placing your ear near the child’s mouth and nose or you can also check to see if the child’s chest is moving. If the child is not breathing, then perform chest compressions.
-
Carefully place the child on his/her back. For a baby, be careful not to tilt the head back too far. If you think there may be a neck or head injury, then you can roll the baby over by moving his/ her entire body at once.
-
For a baby who is below one year, you can place two fingers on the breastbone and for a child who is older, you can place the heel of one hand on the center of the chest and place the other hand on top. Press down for about 2 inches. Make sure that you do not press hard on the ribs, as they are fragile and prone to fracture.
-
You can do around 100 chest compressions per minute and check to see if the child has started breathing. If not, continue to administer CPR until emergency help arrives.
 For rescue breathing
-
You can lift the child’s chin up with one hand to open the airway. At the same time, try to tilt the head back by pushing the forehead down with the other hand. However, do not tilt the head back if you suspect the child has a neck or head injury.
-
You can cover the child/baby’s mouth tightly with yours and pinch the nose close and give breaths. Try giving the child two breaths and check to see if the chest rises each time. Make sure each breath is around one second.
-
Repeat the compressions and the rescue breathing if the child is still not breathing.
-
Keep a note that two breaths should be given after every 30 chest compressions. If someone else is helping you then give 15 compressions for 2 breaths.
-
Continue this cycle until the child starts breathing or until emergency help arrives.
-
If you are alone with the child and have done around 2 minutes of CPR and the child hadn’t responded, then call for help immediately.
-
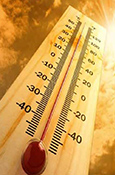
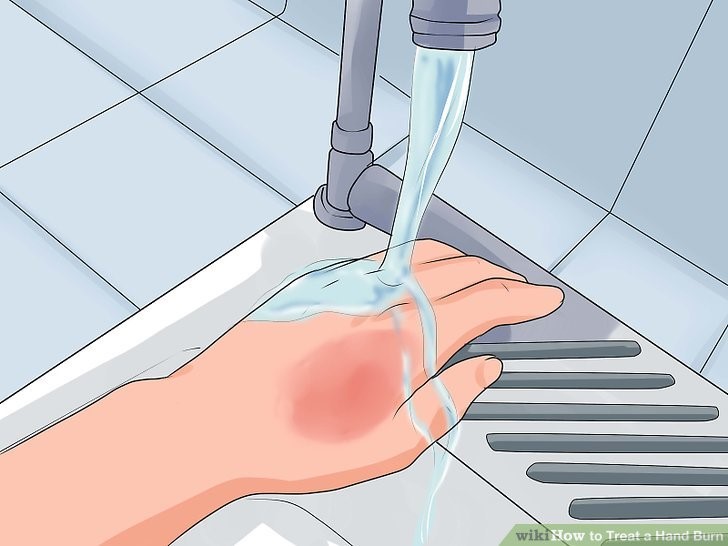
Burns and first aid for burns
You can call for the doctor immediately to treat a burn, if the burnt area is charred/white in colour or was caused due to an electric shock or by certain chemicals. Also, try to look for burns on the face, hands, feet, genitals, joints or burns covering 10 percent or more of the body. Call for help immediately.
Mild first-degree burns like sunburns can be treated at home or at school, while the second-degree or third-degree burns need immediate medical attention. You can call for a doctor if the burn is oozing or seems infected.
To deal with a mild burn –
-
You can place the burned area in cool (not cold) water or under a faucet for at least 5 minutes. Try to make sure that you do not use ice.
-
You can remove the burnt clothes that might be stuck to the skin. However, try not peel it away instead remove it by cutting the clothing around.
-
You can cover the burn by using a non-stick gauze or a clean cloth and apply some antibiotic ointment on it.
-
Try not to apply butter, grease, or anything else on the burn, and do not pop any blisters.
-
You can try reducing the pain by administering an over-the-counter pain reliever such as acetaminophen or ibuprofen for children aged 6 months and older